1. Setting Up a Diaper Changing Station
Having an organized and dedicated diaper changing station is crucial for first-time parents. Not only does it make the process more efficient, but it also ensures that everything is within reach when needed, reducing stress and time spent during diaper changes. Here’s how you can set up a diaper changing station that works for your home and lifestyle.
Location, Location, Location
Choosing the right spot for your diaper changing station is vital. It should be a safe, stable surface that is comfortable for you to stand or sit at while changing your baby. Most parents opt for a changing table, but if you’re short on space, a dresser with a cushioned changing pad on top or even a portable changing station on the floor can work just as well.
Wherever you decide to place your diaper station, ensure it’s close to where you spend the most time with your baby, such as the nursery, living room, or bedroom. Some parents even set up multiple diaper changing stations around the house for convenience, especially if you live in a multi-story home.
Essential Items for the Diaper Changing Station
- Diapers: Keep at least 10 diapers within reach at all times to avoid running out unexpectedly. Stock a mix of sizes if your baby is in between sizes or growing quickly.
- Wipes: Choose gentle, hypoallergenic wipes to clean your baby’s skin. Keep them in an easy-to-open container.
- Diaper Cream or Ointment: Prevent and treat diaper rashes with a good barrier cream. Keep it close to the diapering area.
- Changing Pad: A cushioned, wipeable changing pad with raised sides provides both comfort and safety for your baby.
- Trash Can or Diaper Pail: A diaper pail with odor control can help keep unpleasant smells at bay.
- Hand Sanitizer: For a quick clean-up when you’re in a hurry and can’t wash your hands.
- Extra Clothes: Accidents happen, so keep a fresh set of clothes or two for your baby nearby.
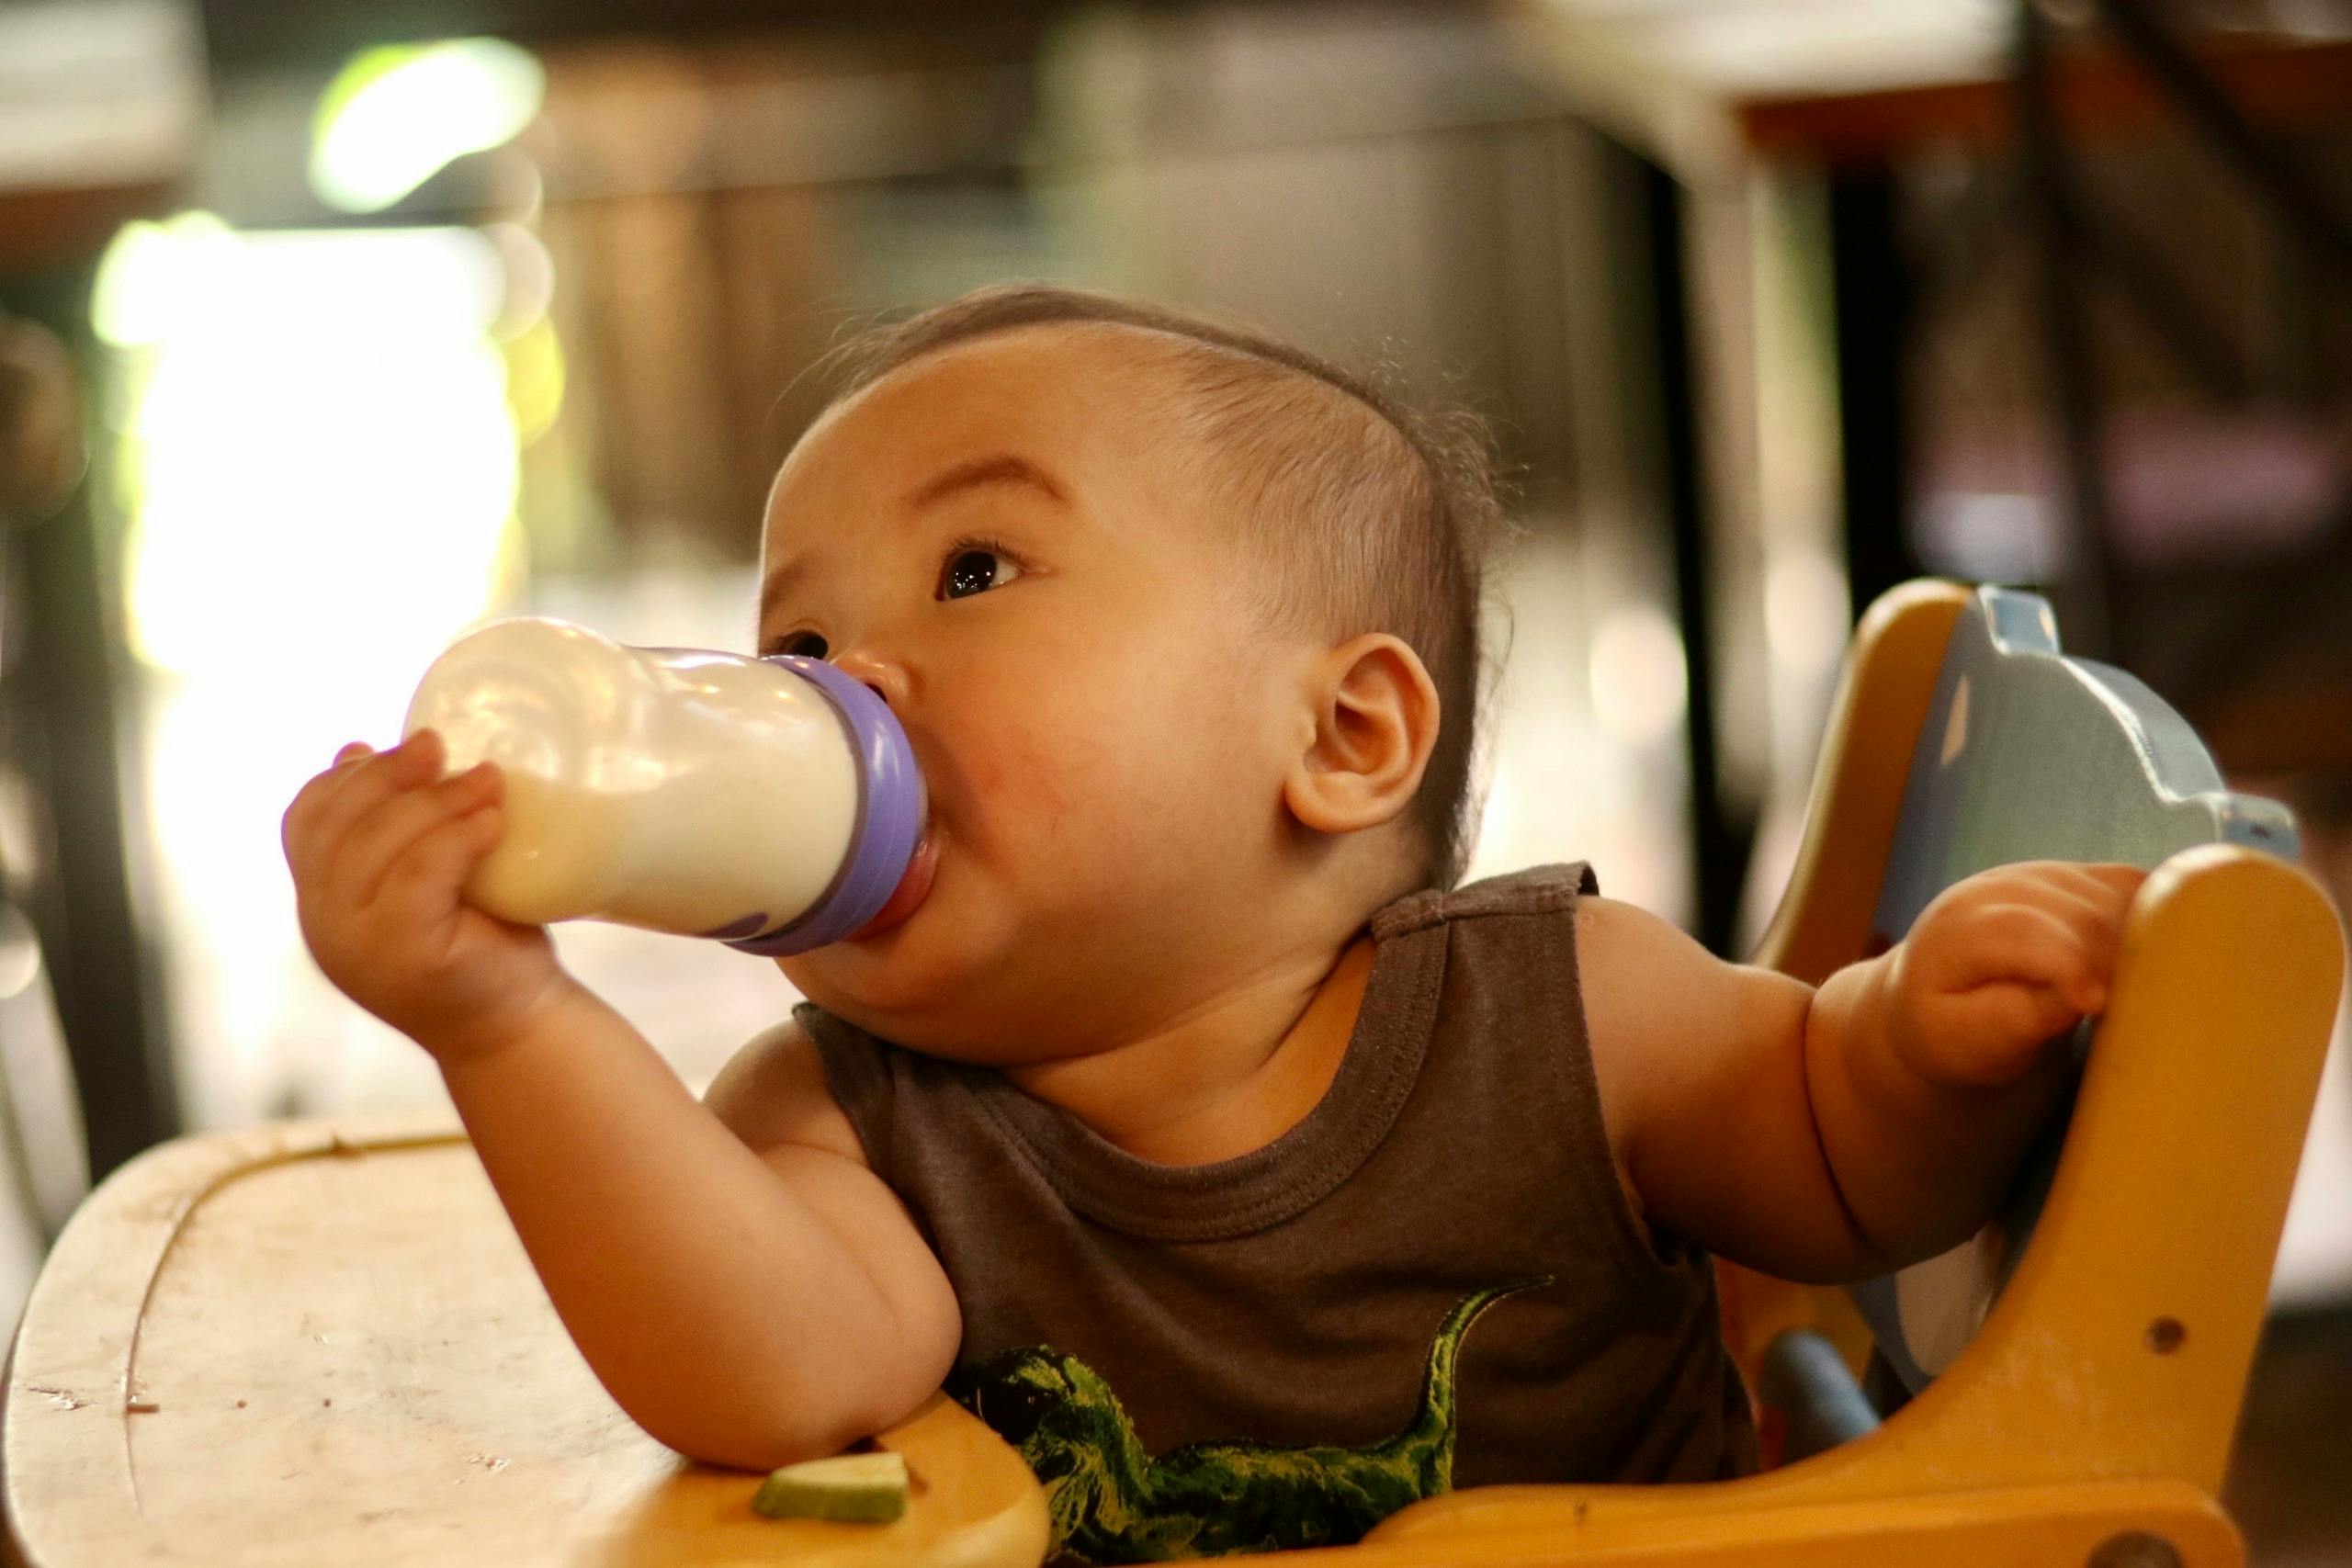
- Toys or Distractions: Babies can get fussy during diaper changes. A small toy can keep them entertained and make the process easier.
Safety Considerations
Safety is a top priority when setting up a diaper changing station. Never leave your baby unattended on a changing table, even for a second. Many changing pads come with safety straps to help keep your baby secure, but these should never replace supervision. Make sure all your supplies are within arm’s reach so you don’t have to turn away from your baby during the diaper change.
Lastly, secure heavy furniture like changing tables to the wall using anti-tip straps to prevent accidents.
2. Choosing the Right Diaper
Choosing the right diaper for your baby can feel overwhelming with all the options available. The decision often comes down to choosing between disposable and cloth diapers, but even within those categories, there are various types and brands. Let’s break down your options and help you decide what will work best for your baby and your lifestyle.
Disposable Diapers
Disposable diapers are the most popular choice for new parents due to their convenience. These diapers are designed to be used once and then thrown away, which means you don’t have to deal with laundry or cleaning soiled diapers.
- Pros:
- Convenient and easy to use
- Available in a variety of sizes and styles to fit every baby
- Super absorbent, reducing the likelihood of leaks
- Travel-friendly and easy to dispose of
- Cons:
- More expensive in the long run compared to cloth diapers
- Environmental impact due to their non-biodegradable nature
- Can contain chemicals or fragrances that may irritate sensitive skin
Popular brands like Pampers, Huggies, and Luvs offer different features, such as wetness indicators and extra absorbent cores, which can help keep your baby dry and comfortable for longer periods. Many disposable diapers also come in eco-friendly options, made with organic materials or designed to minimize environmental impact.
Cloth Diapers
Cloth diapers have come a long way from the days of folding and pinning large squares of fabric. Modern cloth diapers come in a variety of styles, including all-in-one diapers, pocket diapers, and prefolds, making them easier to use than ever before.
- Pros:
- Eco-friendly and reusable
- Can save money in the long run
- Available in natural, chemical-free materials that are gentle on sensitive skin
- Many modern designs are easy to use and wash
- Cons:
- Requires more effort due to frequent washing
- Can be less convenient when traveling or on the go
- Higher initial investment
For parents committed to reducing their carbon footprint, cloth diapers are an excellent option. Many parents find that using cloth diapers at home and disposables while traveling strikes a good balance between convenience and environmental responsibility.
Diaper Sizes and Fit
No matter which type of diaper you choose, getting the right size is crucial for preventing leaks and keeping your baby comfortable. Most diaper brands offer size charts based on your baby’s weight, but keep in mind that every baby is different, and you may need to experiment with different brands and sizes to find the perfect fit.
Signs that your baby’s diaper is too small include red marks around the waist or legs, frequent leaks, and a tight fit. On the other hand, if the diaper is too large, you may notice gaps around the legs or waist, which can lead to blowouts.
3. Preparing for the Diaper Change
Preparation is key to making diaper changes as smooth and stress-free as possible, especially for first-time parents. By having everything you need on hand and creating a consistent routine, you can minimize fussiness and ensure your baby stays comfortable throughout the process.
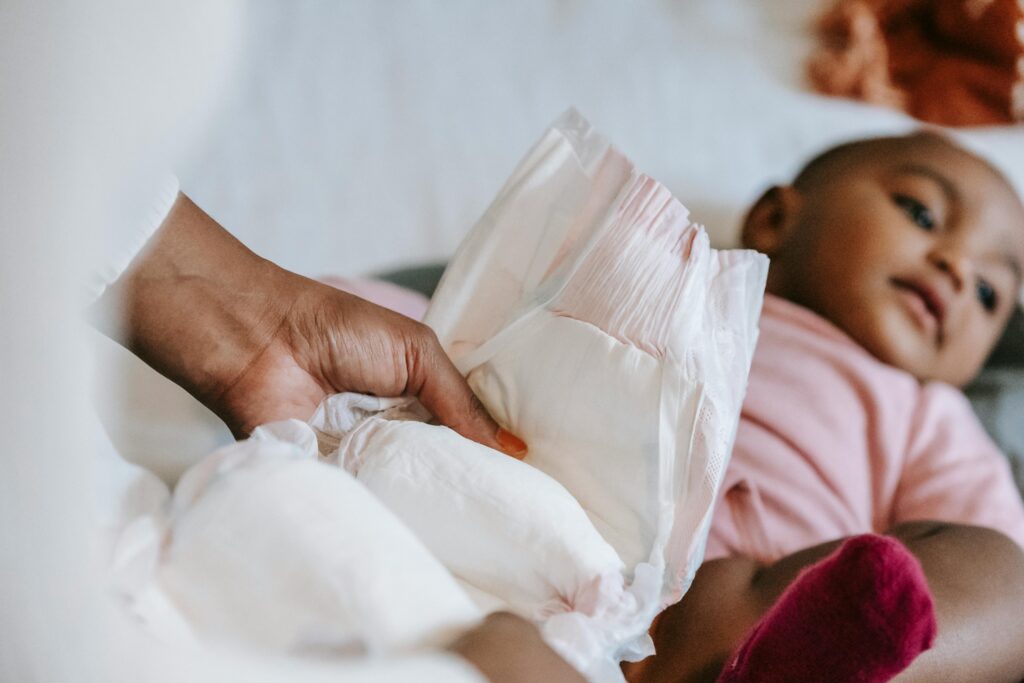
Gather Your Supplies
Before starting the diaper change, make sure you have all your supplies within arm’s reach. This includes diapers, wipes, diaper cream, and a change of clothes in case of accidents. Having everything prepared beforehand prevents you from having to leave your baby unattended while you search for supplies.
Here’s a checklist of what to have on hand:
- Fresh diaper (cloth or disposable)
- Wipes (or a washcloth and warm water for sensitive skin)
- Diaper cream or ointment (if necessary)
- Changing pad or clean surface
- Extra clothes (in case of leaks or blowouts)
Set the Scene
Choose a calm and quiet environment for changing your baby’s diaper. Whether you’re at your diaper changing station or out and about, creating a soothing atmosphere can make a big difference in how your baby reacts. Soft music, a mobile, or a favorite toy can help distract and entertain your baby during the diaper change.
If your baby tends to get fussy, try talking to them or singing a gentle song to keep them calm. Babies are sensitive to their parent’s emotions, so staying calm and relaxed will help your baby feel the same.
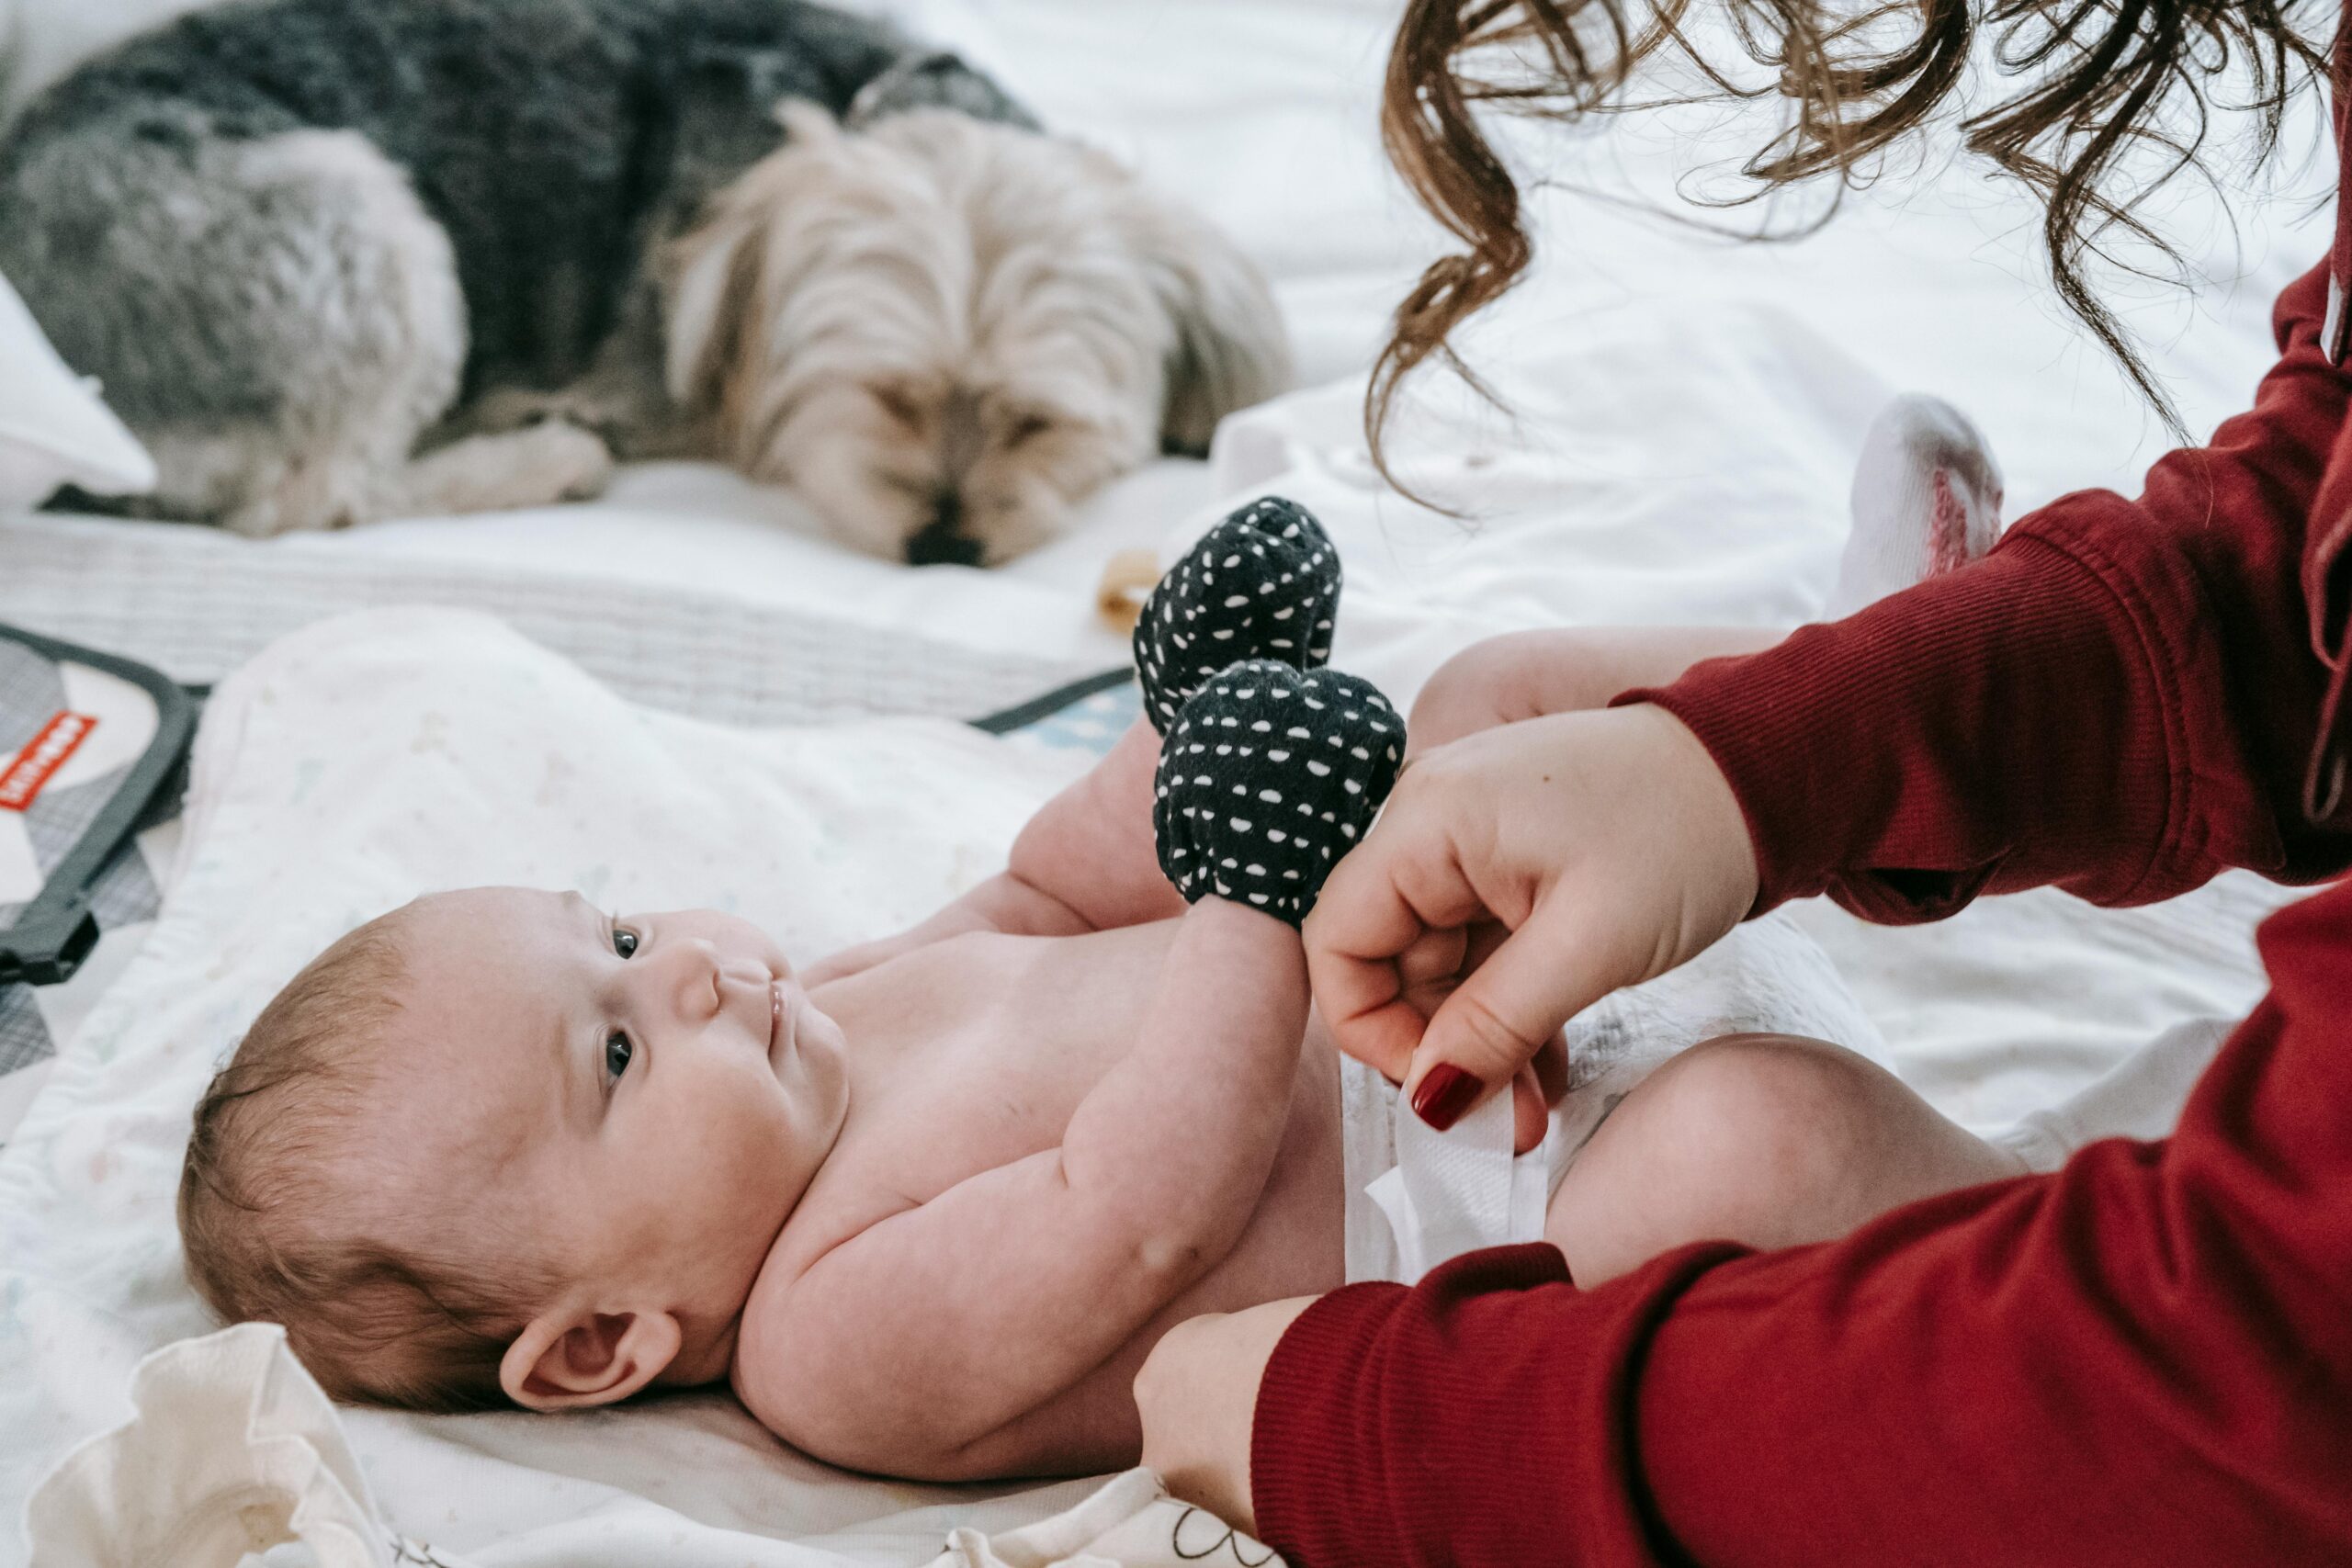
Changing the Diaper: Step by Step
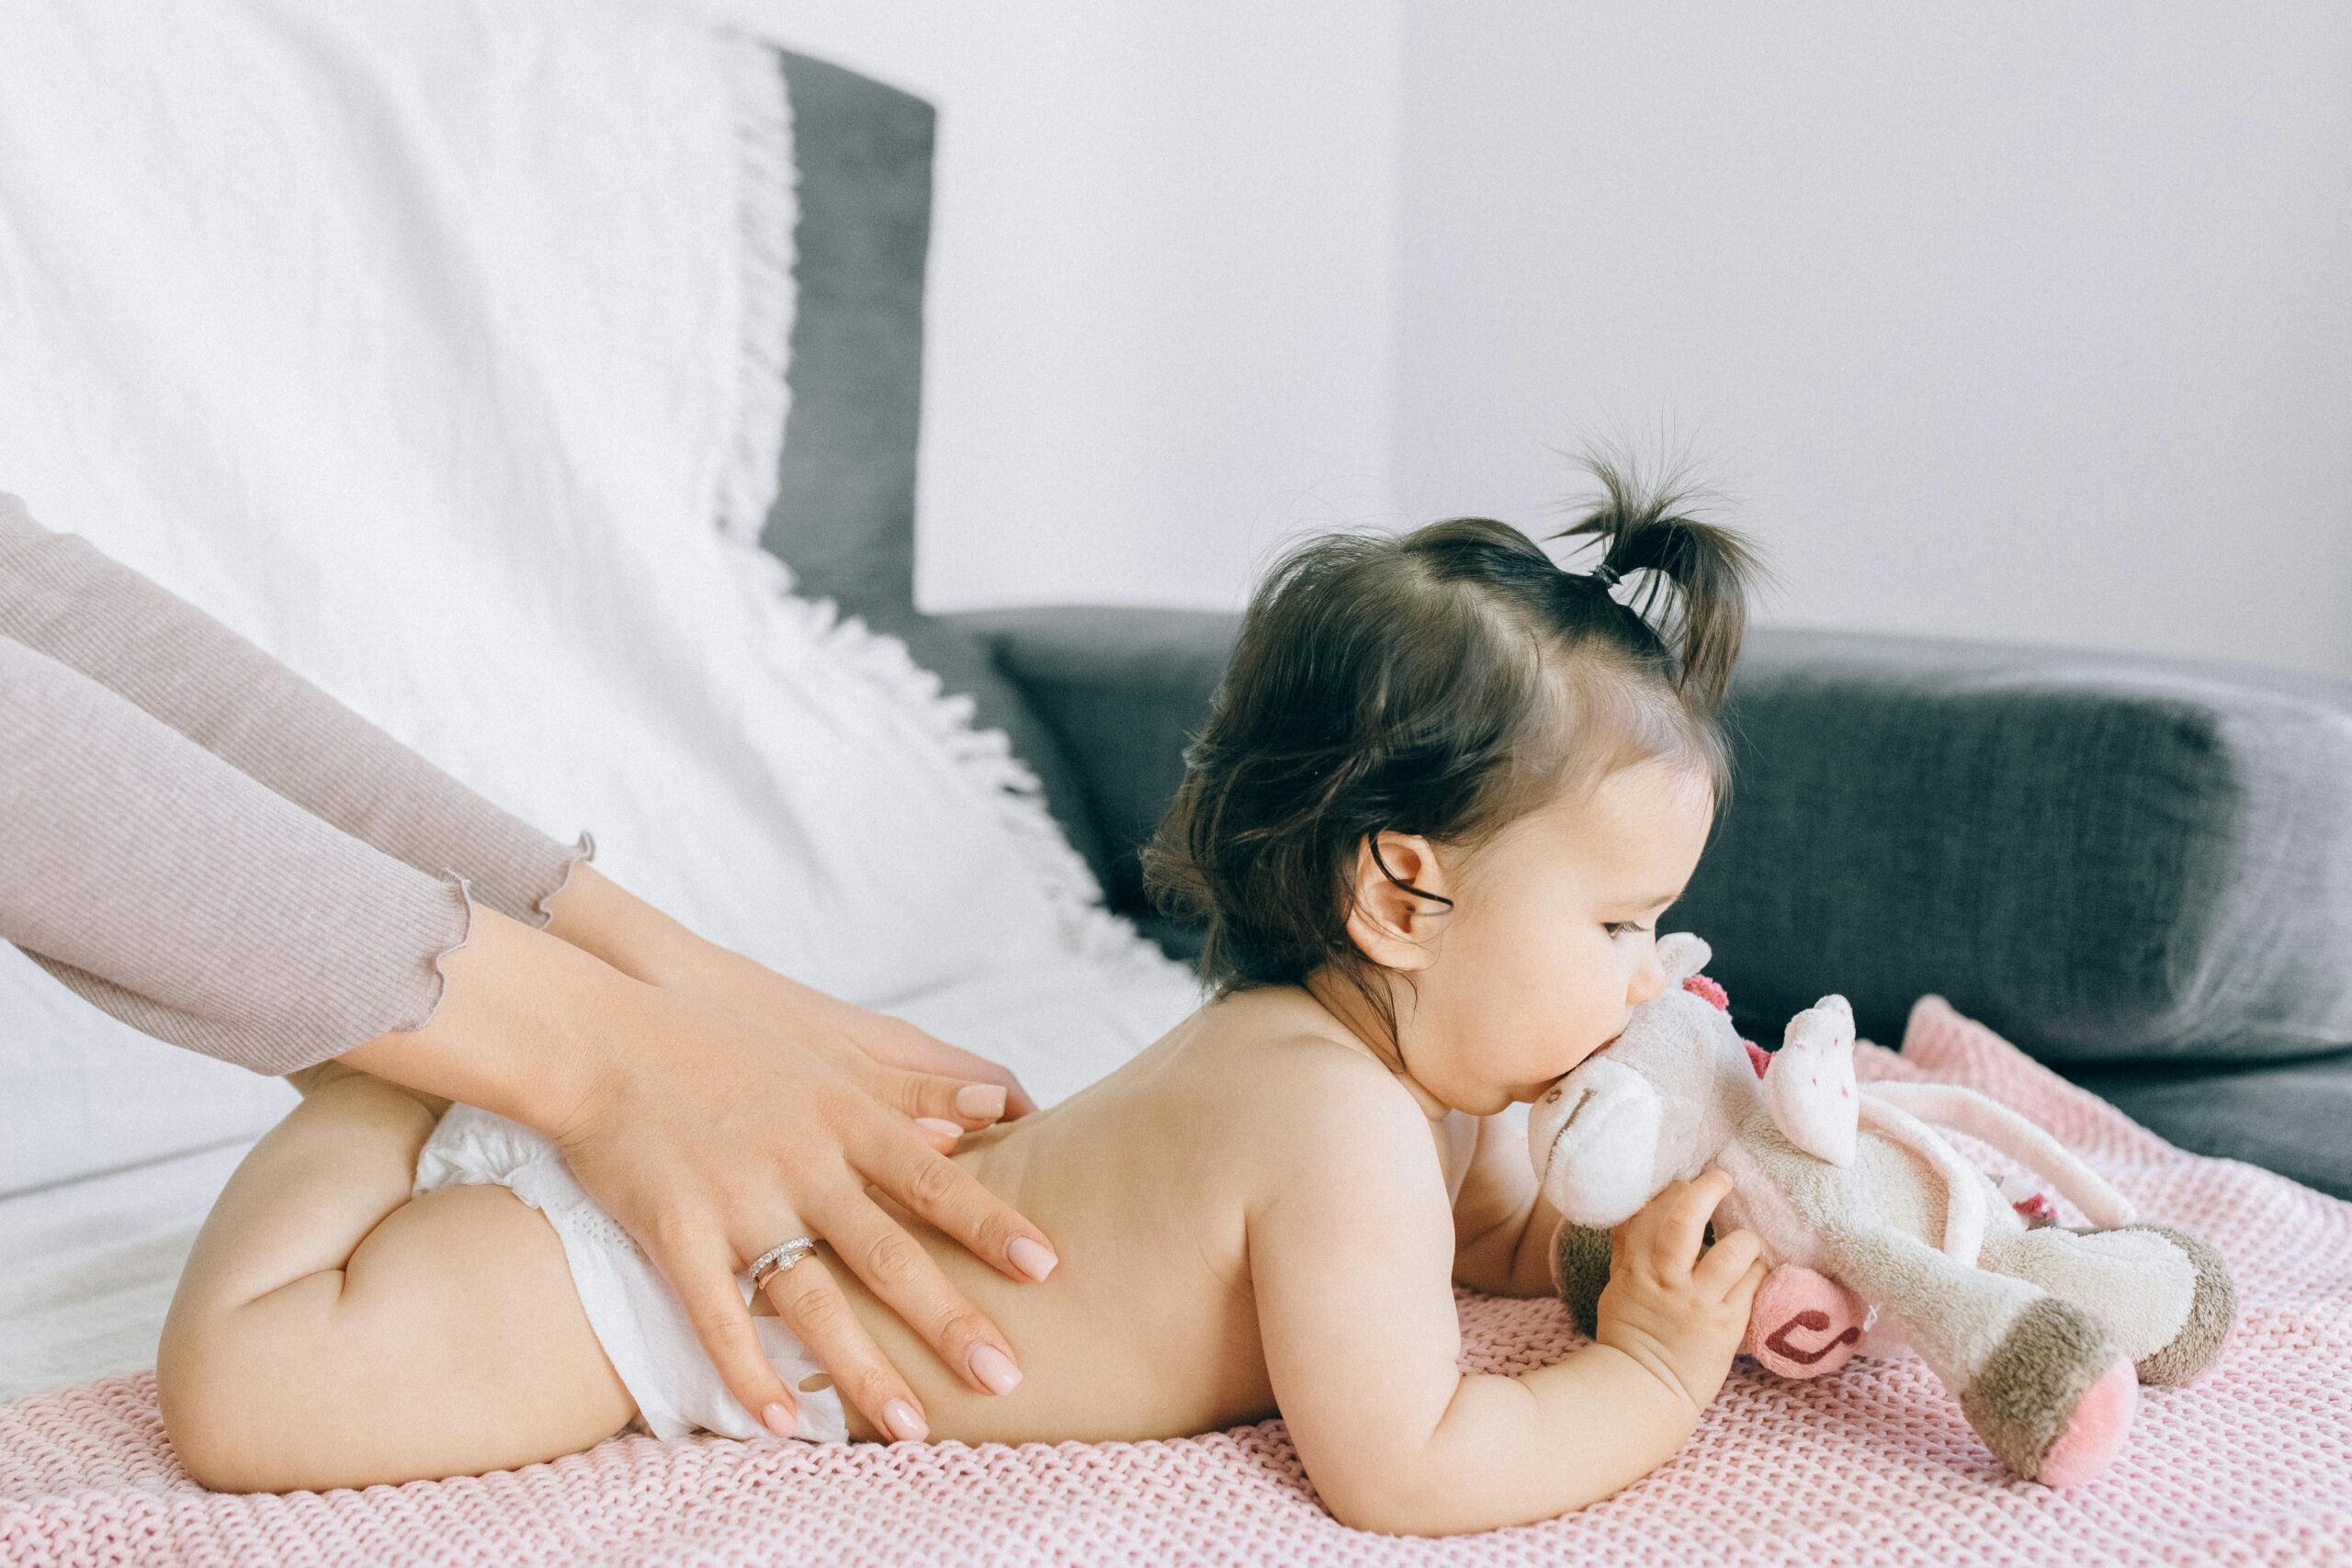
- Lay Your Baby Down: Place your baby on their back on a flat, safe surface like a changing table or pad.
- Remove the Dirty Diaper: Gently lift your baby’s legs by the ankles and unfasten the dirty diaper. Use the front part of the diaper to wipe away as much mess as possible, then fold the diaper under your baby, dirty side in.
- Clean the Area: Use wipes or a damp washcloth to clean your baby’s bottom, making sure to wipe from front to back to prevent infections.
- Apply Diaper Cream (Optional): If your baby has diaper rash or sensitive skin, apply a thin layer of diaper cream or ointment.
- Put on a Fresh Diaper: Lift your baby’s legs again and slide a clean diaper underneath. Make sure the tabs are fastened securely but not too tight, and ensure the diaper fits snugly around the legs and waist to prevent leaks.
- Dispose of the Dirty Diaper: Roll up the dirty diaper and secure it with the tabs. Place it in a diaper pail or trash can to contain odors.
4. Handling Messes
No matter how prepared you are, diaper changes don’t always go as planned. Babies are unpredictable, and messes are bound to happen. Whether it’s a surprise blowout or a baby who won’t stay still, knowing how to handle these situations will save you a lot of stress and frustration.
Blowouts and Leaks
Blowouts happen when the diaper is unable to contain your baby’s mess, resulting in leaks up the back or out the legs. Blowouts are more common in newborns and younger babies, as their stools are often more liquid and their movements more unpredictable.
To minimize the risk of blowouts:
- Make sure your baby’s diaper fits properly. A diaper that’s too small or too large can lead to leaks.
- Use diapers designed for extra absorbency, especially during naps or nighttime.
- Keep a change of clothes (for both you and your baby) in your diaper bag or near your changing station in case of accidents.
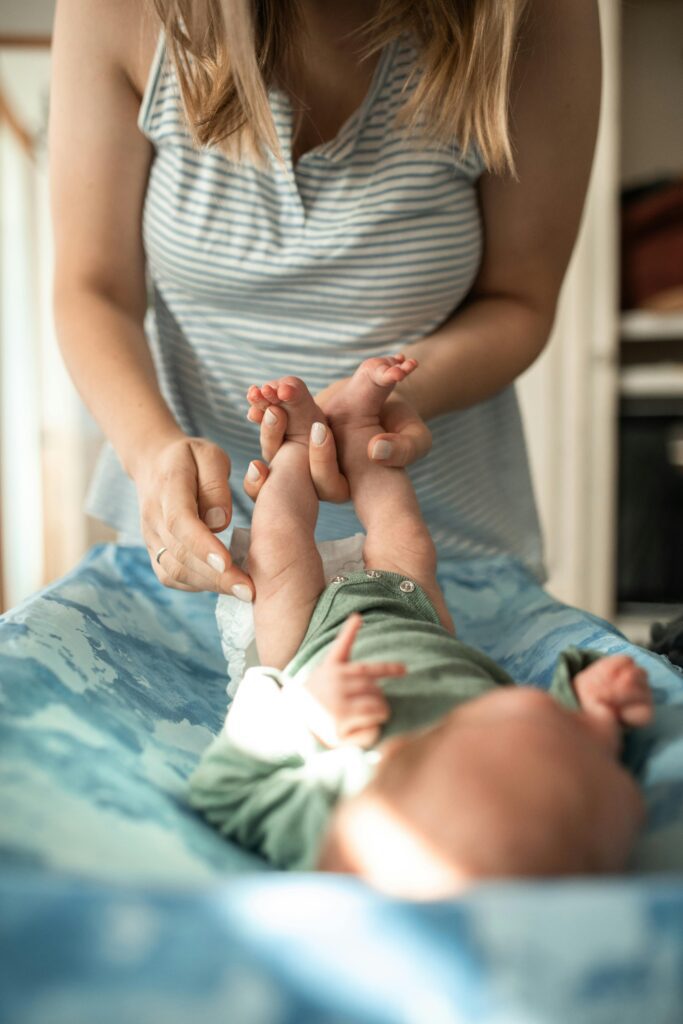
5. Keeping Your Baby Comfortable During Diaper Changes
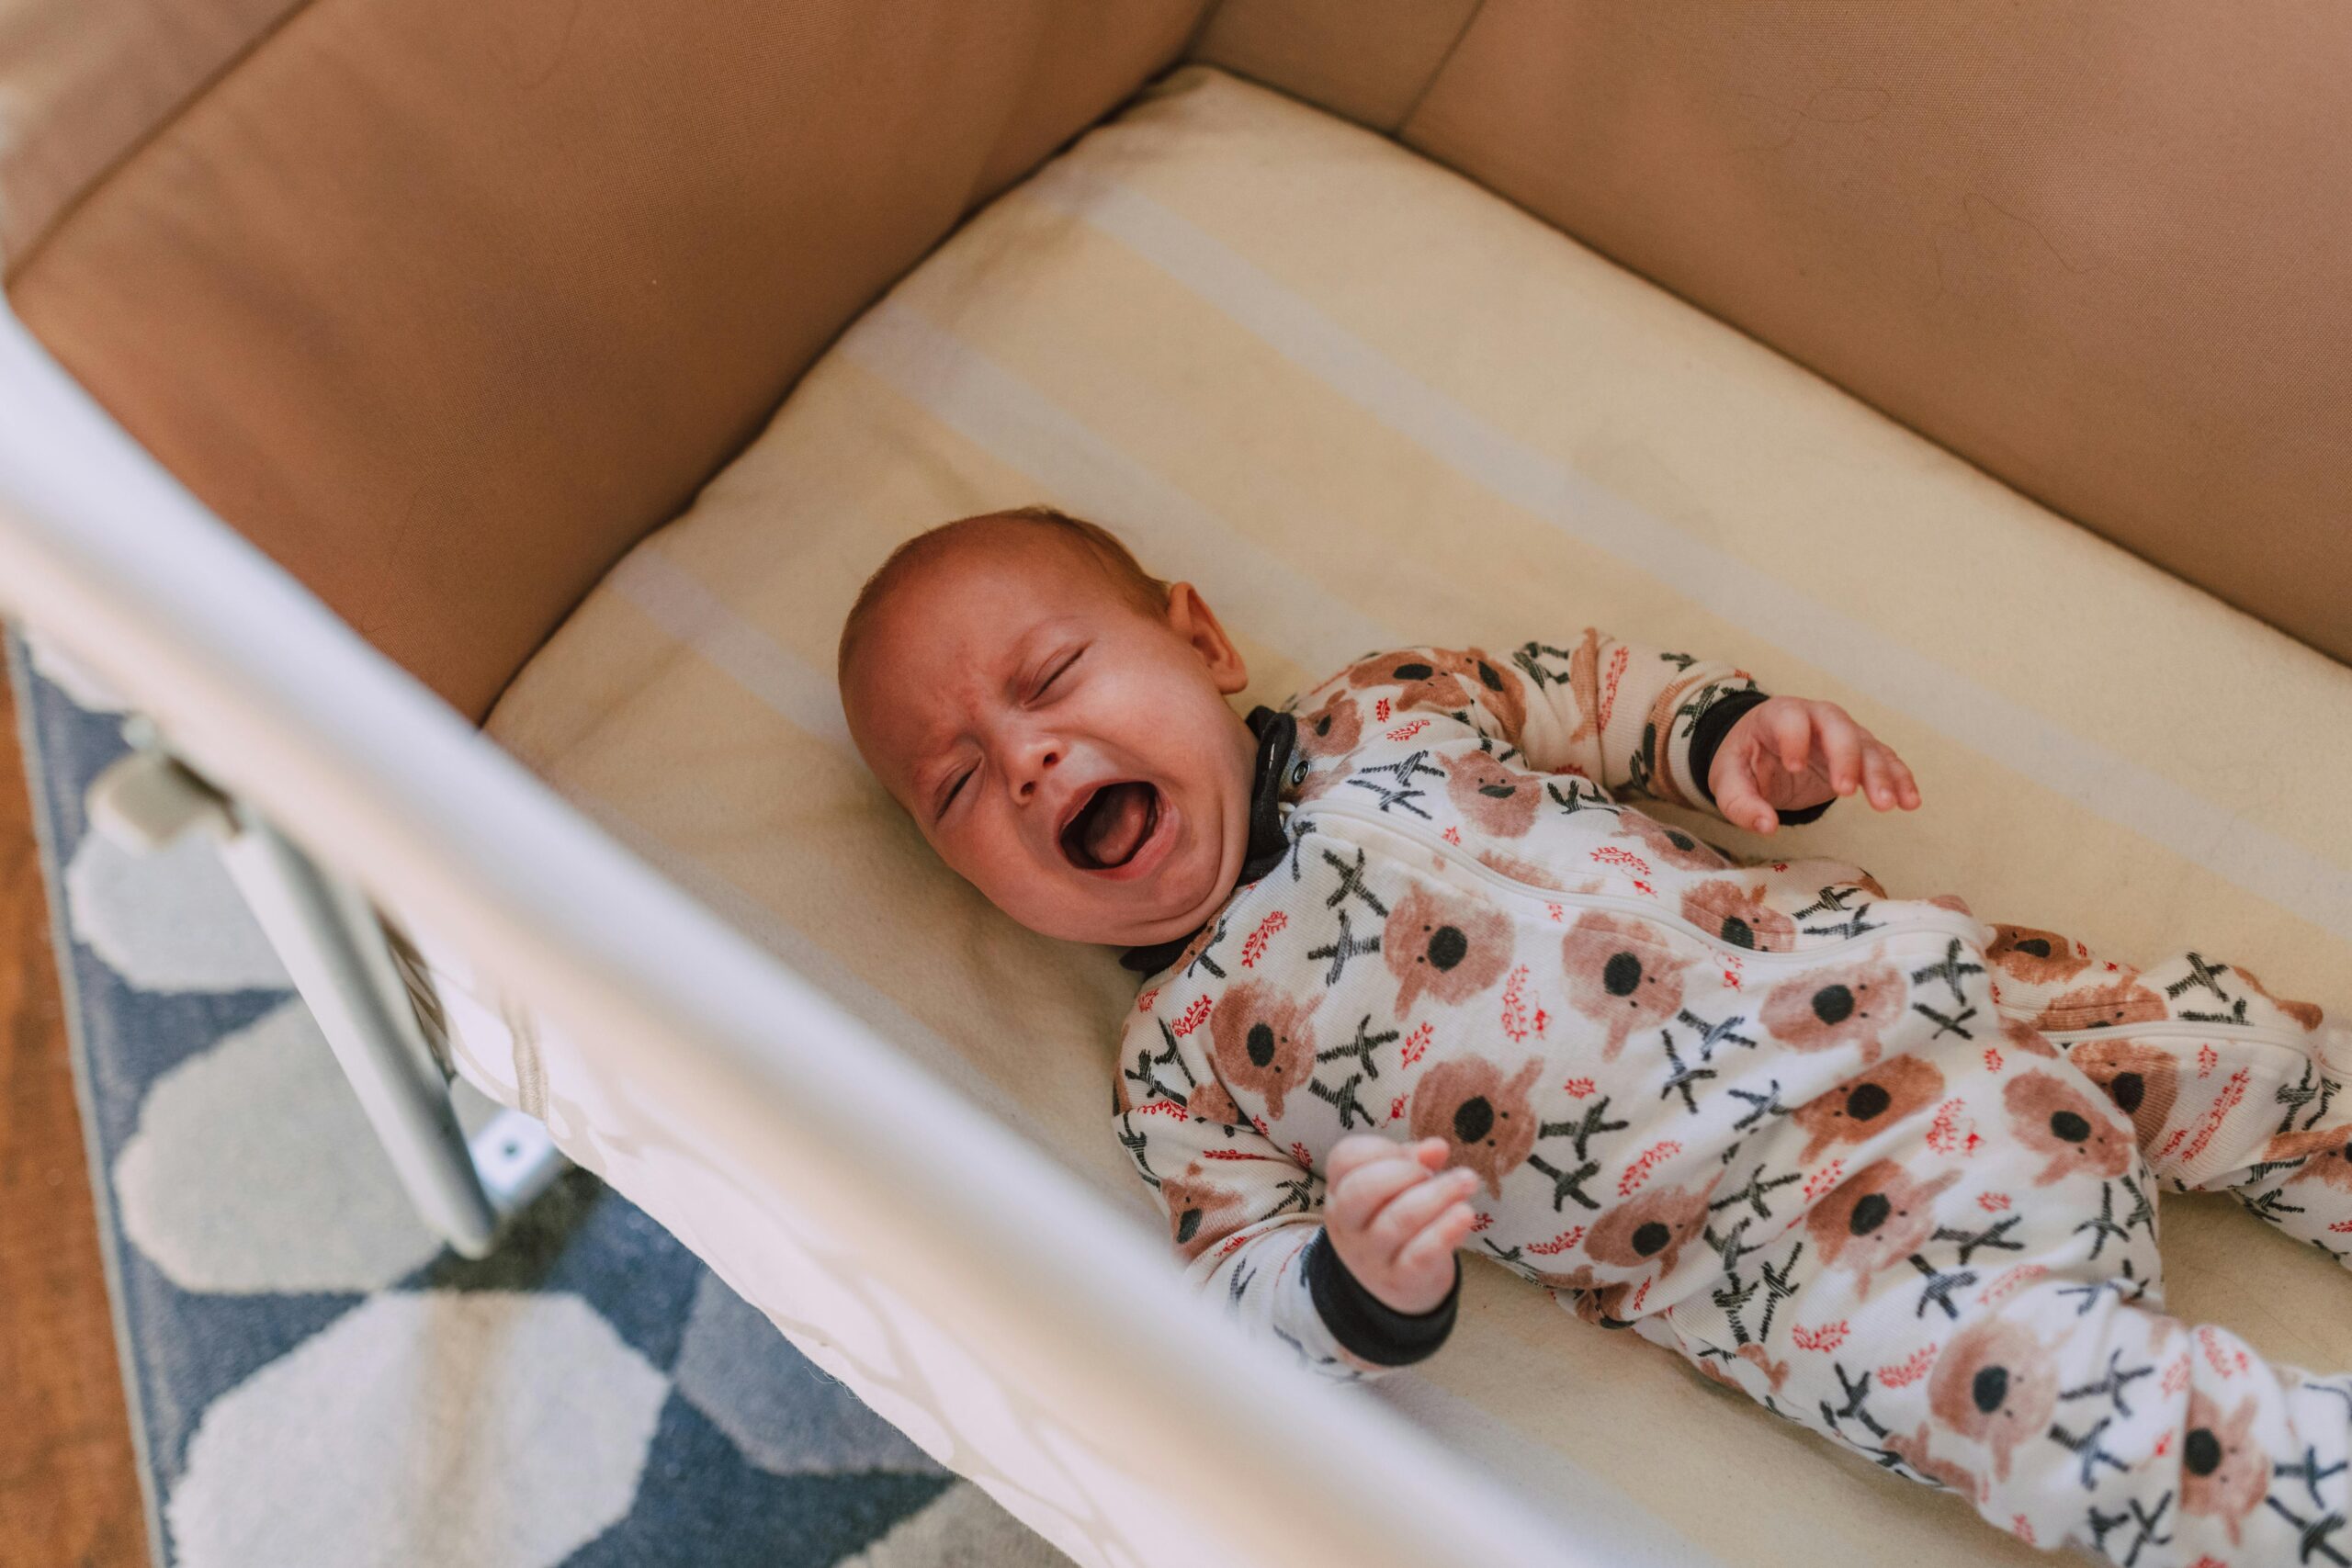
Diaper changes are often moments when babies feel fussy or uncomfortable. However, keeping your baby calm and relaxed during diaper changes can make the process more pleasant for both of you. Here are some tips to ensure your baby stays as comfortable as possible.
Choose a Warm and Calm Environment
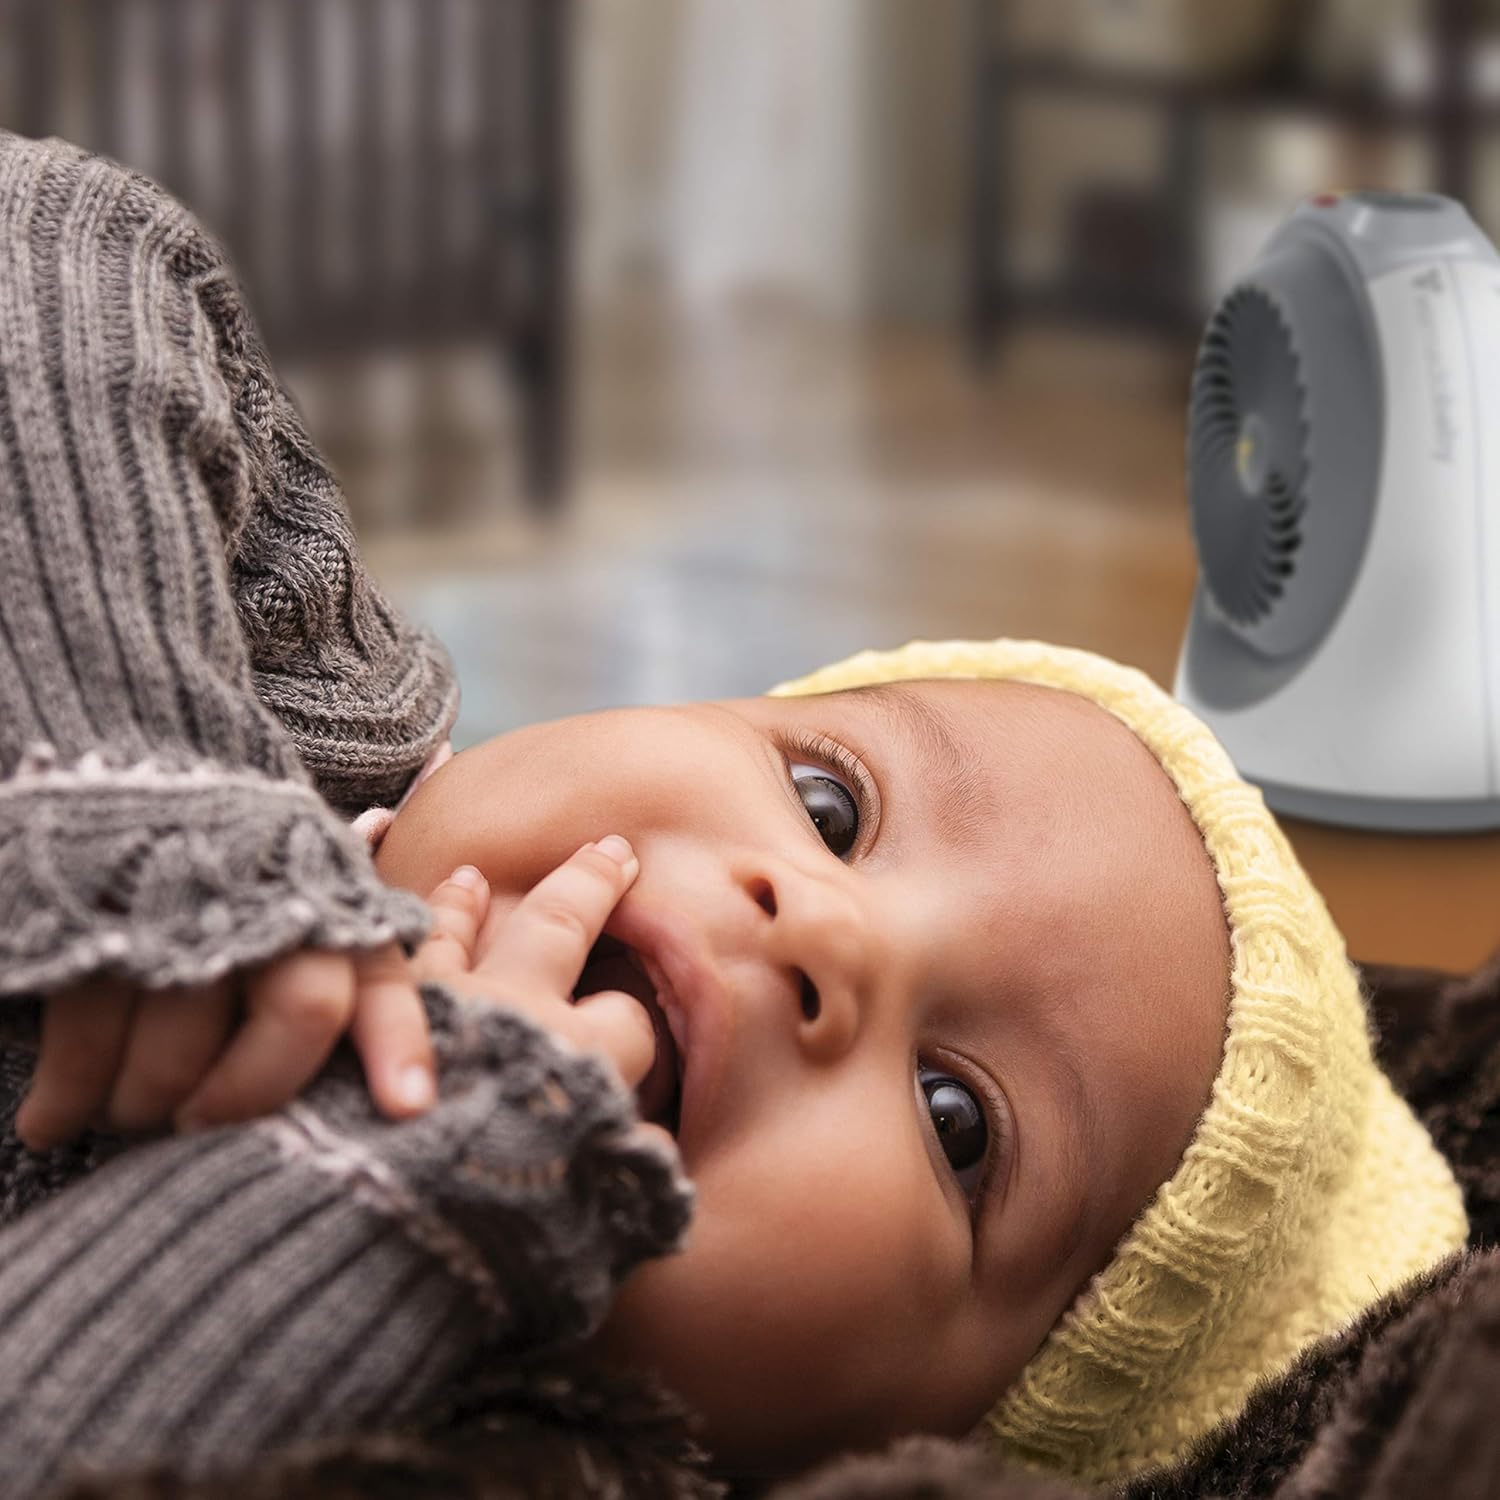
Babies are highly sensitive to their surroundings. If the room is too cold, your baby may become upset when you remove their diaper, as they’ll feel exposed. Make sure the room where you change your baby is warm and comfortable. You can use a space heater or simply warm up the changing pad before laying your baby down. A soft, cushioned changing pad cover can also help provide additional comfort.
Use Soft Materials
The materials that come into contact with your baby’s skin during a diaper change should be soft and gentle to avoid irritation. Opt for hypoallergenic wipes, cotton pads, or soft washcloths, especially if your baby has sensitive skin. If you’re using cloth diapers, make sure they’re made from natural, breathable fabrics like cotton or bamboo.
Keep Diaper Changes Fun
Babies are more likely to stay calm during diaper changes if you engage them and keep the atmosphere light. Talking to your baby, singing songs, or making funny faces can distract them and turn diaper changes into a bonding experience. Some parents also use special diaper change toys—small, easy-to-clean toys that are only given to the baby during diaper changes to keep them entertained.
Be Gentle
A gentle touch is essential when changing your baby’s diaper. Use a soft, light touch when cleaning their skin and avoid scrubbing, which can irritate delicate areas. If your baby has a diaper rash or sensitive skin, pat the skin dry rather than rubbing it.
Timing Is Everything
Timing your diaper changes can also help keep your baby comfortable. Most babies dislike being changed when they’re hungry or overtired. Try to change your baby’s diaper when they’re well-fed and rested. Many parents find that changing a baby’s diaper right after a feeding works well, as the baby is usually calm and relaxed.
6. Diaper Changing on the Go
Diaper changes aren’t limited to the comfort of your home. When you’re out and about with your baby, you’ll need to be prepared for diaper changes on the go. While it may seem daunting at first, having the right supplies and mindset can make outdoor diaper changes much easier.
Pack the Essentials
When preparing to leave the house with your baby, make sure you have all the diapering essentials in your diaper bag. Here’s what to pack for a smooth diaper change on the go:
- Diapers: Bring at least one diaper for every hour you’ll be out, plus a couple of extras just in case.
- Wipes: Pack plenty of wipes, as they can be used not only for diaper changes but also for cleaning hands and surfaces.
- Changing Pad: A portable changing pad provides a clean, comfortable surface for diaper changes wherever you are.
- Plastic Bags: Bring plastic or wet bags to store soiled diapers and clothes until you can dispose of or wash them.
- Hand Sanitizer: Keep hand sanitizer in your diaper bag for cleaning your hands when soap and water aren’t available.
- Extra Clothes: Pack a change of clothes for your baby in case of leaks or blowouts.
- Diaper Cream: Bring a small tube of diaper cream to protect your baby’s skin while you’re out.
Finding a Place to Change Your Baby
Many public places, such as shopping malls, airports, and restaurants, have designated baby changing stations in restrooms. These are convenient and often equipped with changing tables, diaper disposal bins, and sometimes even wipes or paper towels.
However, not all locations have these facilities, so you may need to get creative when changing your baby’s diaper on the go. You can use your portable changing pad to change your baby in the back seat of your car, on a park bench, or even on a clean, flat surface outdoors.
Tips for a Smooth Diaper Change On the Go
- Be quick but thorough: When changing your baby’s diaper in a public place, try to be efficient to minimize discomfort for your baby. However, don’t rush through the process—take the time to clean your baby’s skin properly to avoid irritation.
- Use distraction techniques: Babies can become restless during outdoor diaper changes, especially in unfamiliar environments. Bring along a small toy or sing to your baby to keep them calm.
- Stay organized: Keep your diaper bag well-organized so you can quickly grab what you need during the diaper change. Use separate compartments or small pouches to store diapers, wipes, and other essentials.
7. Diaper Rash Prevention and Treatment
Diaper rash is a common concern for many new parents, but with the right preventive measures and treatments, you can keep your baby’s skin healthy and rash-free. Diaper rash typically appears as red, irritated patches of skin on your baby’s bottom and can be caused by a variety of factors, including prolonged exposure to moisture, friction, and sensitivity to certain materials.
Preventing Diaper Rash
Prevention is the best way to protect your baby’s delicate skin from diaper rash. Here are some tips to prevent diaper rash before it starts:
- Change Diapers Frequently: The most important step in preventing diaper rash is to keep your baby’s skin clean and dry. Change their diaper as soon as it becomes wet or soiled to minimize the time their skin is exposed to moisture.
- Use Barrier Creams: Applying a diaper cream or ointment with zinc oxide or petroleum jelly can create a protective barrier on your baby’s skin, preventing moisture and irritants from causing a rash.
- Allow Air to Circulate: Give your baby’s bottom some time to air out by letting them go without a diaper for a few minutes each day. This allows the skin to breathe and reduces the risk of irritation.
- Choose the Right Diaper: Make sure your baby’s diaper fits properly and is made from breathable materials. If your baby has sensitive skin, opt for hypoallergenic diapers and wipes.
- Avoid Irritating Products: Some baby wipes, soaps, and lotions contain fragrances or chemicals that can irritate your baby’s skin. Choose gentle, fragrance-free products to reduce the risk of diaper rash.
Treating Diaper Rash
If your baby does develop a diaper rash, it’s important to treat it as soon as possible to prevent it from getting worse. Here’s how to treat diaper rash effectively:
- Clean the Area Gently: Use water and a soft cloth to gently clean your baby’s bottom during diaper changes. Avoid scrubbing the affected area, as this can worsen the irritation.
- Apply a Diaper Rash Cream: Use a thick layer of diaper rash cream or ointment containing zinc oxide to protect the skin and promote healing.
- Change Diapers More Often: Keep your baby’s skin as dry as possible by changing their diaper frequently, especially if they have a rash.
- Let the Skin Breathe: Give your baby some diaper-free time to let their skin heal. Lay them on a towel or waterproof pad and let them go without a diaper for a while each day.
If the diaper rash doesn’t improve after a few days of treatment or if it worsens, consult your pediatrician. They may recommend a stronger cream or investigate whether the rash is caused by a yeast infection, which requires a different treatment.
Recommended Products for Diaper Changing
Having the right products on hand can make diaper changes much easier and more comfortable for both you and your baby. Here are some highly recommended products available on Amazon that can help streamline the diaper changing process:
- Pampers Swaddlers Disposable Baby Diapers – These diapers are soft, absorbent, and come with a wetness indicator, making them a favorite among parents for newborns.
- Huggies Natural Care Baby Wipes – Gentle and hypoallergenic, these wipes are perfect for cleaning your baby’s delicate skin without causing irritation.
- Aquaphor Baby Healing Ointment – A multi-purpose ointment that helps soothe diaper rash and protect your baby’s skin.
- Burt’s Bees Baby Diaper Rash Ointment – Made with natural ingredients, this ointment creates a protective barrier and promotes healing of diaper rash.
- Ubbi Steel Odor Locking Diaper Pail – Keep diaper smells contained with this stylish and odor-locking diaper pail.
- Munchkin Portable Diaper Changing Kit – A compact and portable changing kit that’s perfect for on-the-go diaper changes.
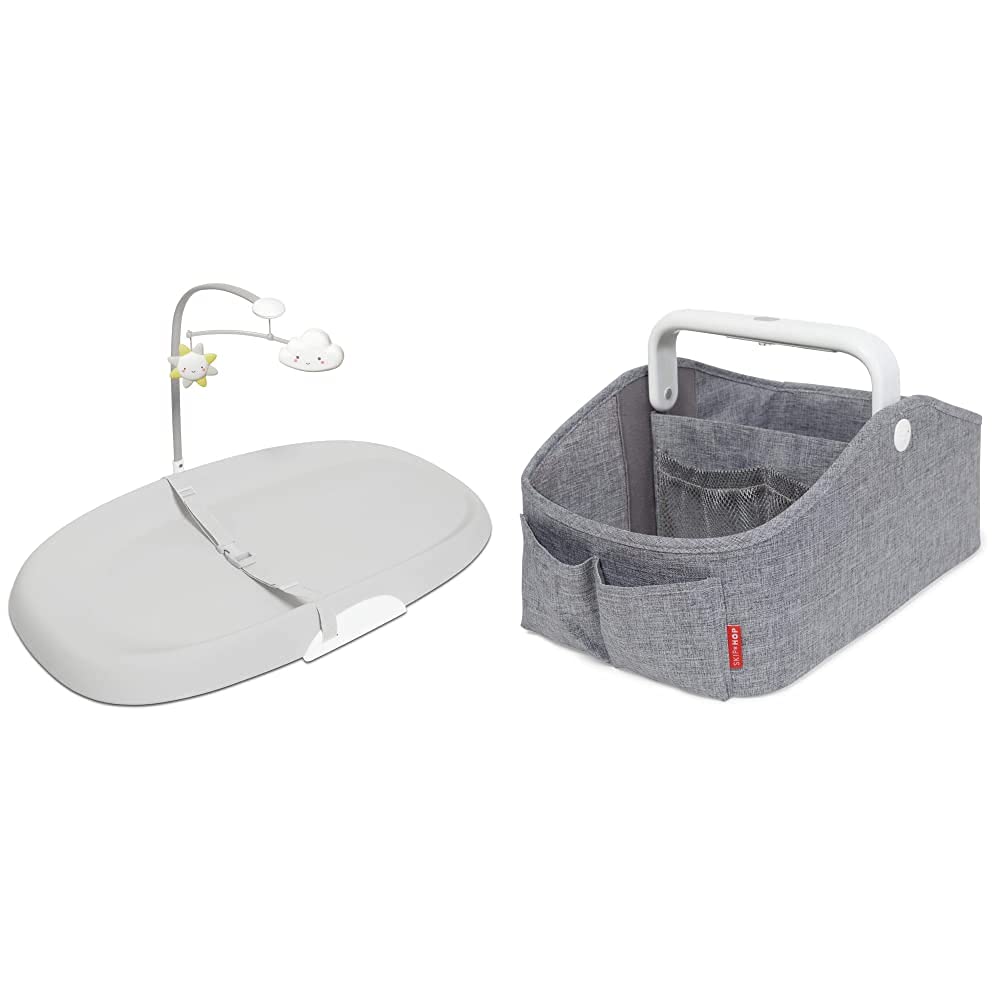
- Skip Hop Baby Changing Pad – A cushioned, wipe-clean changing pad with a toy bar to keep your baby entertained during diaper changes.
- The Honest Company Diaper Rash Cream – A natural, plant-based cream that helps soothe and heal diaper rash without harsh chemicals.
- Wegreeco Washable Reusable Cloth Diapers – An eco-friendly option for parents looking to use cloth diapers.
- Bumkins Waterproof Wet Bags – These reusable wet bags are great for storing soiled diapers while on the go.
By following these tips and using the recommended products, you can make diaper changes a smoother and more enjoyable experience for both you and your baby. With proper preparation and care, diaper changes can become a time of bonding rather than stress.
